
Bearing Mounting and Dismounting – Techniques to Avoid Damage During Installation
Correct mounting is critical — damage during installation accounts for a significant percentage of premature bearing failures. Many of these failures can be prevented with proper tooling and technique.
When to use mechanical, hydraulic, or heat mounting methods
| Method | Applicable bearing size | Advantages |
|---|---|---|
| Mechanical press (cold mounting) | All sizes (with proper support) | Simple, widely available tooling |
| Hydraulic press (cold mounting) | All sizes | Controlled force application, safety benefits |
| Induction heating | Medium to large sizes | Clean, uniform heating, no risk of overheating |
| Oven heating | Medium to large sizes | Uniform heating, suitable for multiple bearings |
Tolerance class and fit selection
The correct fit depends on operating conditions, load magnitude, and rotational requirements:
Running fits (tight on rotating ring) — select tighter interference fits to avoid spinning damage from true brinelling.
Stationary fits (loose on non-rotating ring) — sliding fits for easy disassembly (important to inspect for impact scoring on bore).
High speed / low load applications — trending looser in rotating ring to avoid excessive preload.
Consult the manufacturer‘s engineering tables or request a support review of shaft and housing fit classes before final mounting [4†L47-L50].
Common mounting mistakes to avoid
Using a hammer directly on bearing rings — hammering directly on a bearing transmits shock through rolling elements, creating surface indentations (brinelling). Always use precision mounting tooling.
Applying force through the wrong ring — when mounting an inner ring onto a shaft, force must be applied ONLY to the inner ring. Force transmitted through rolling elements
Inadequate shaft shoulder preparation — the shaft shoulder supporting the bearing must have the correct radius (r) and corner clearance. Sharp corners cause stress concentrations and eventual ring cracking.
Mounting sequence errors — the correct order for component assembly must be followed — radial bearings on stepped shafts, labyrinth seals or distance rings placed before bearing mounting [9†L21-L23].
Inspection after mounting
After mounting, the bearing must rotate freely through at least two full revolutions to check for misalignment or interference. Rotate the assembled shaft by hand, listening for grinding or scraping sounds. Measure runout after final torque sequencing of housing bolts.
How Ouna Bearing supports proper installation
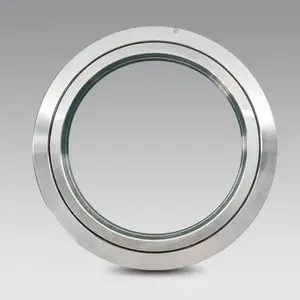
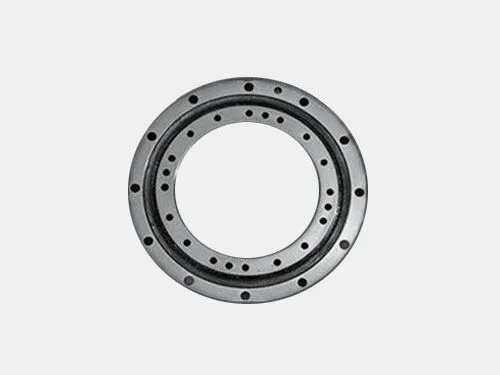
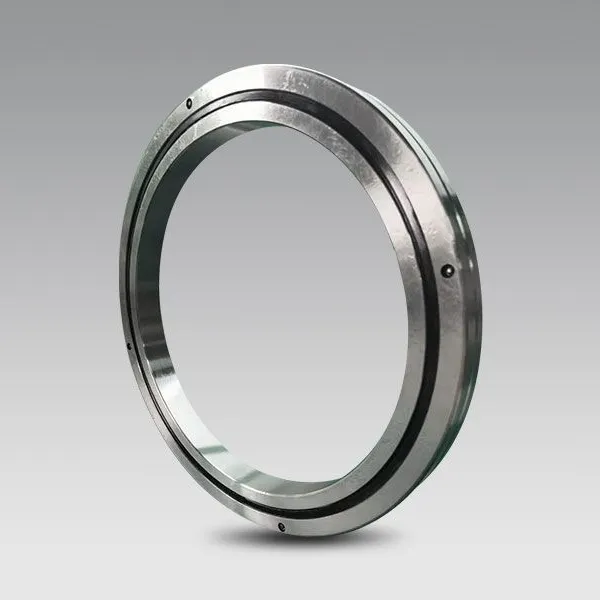
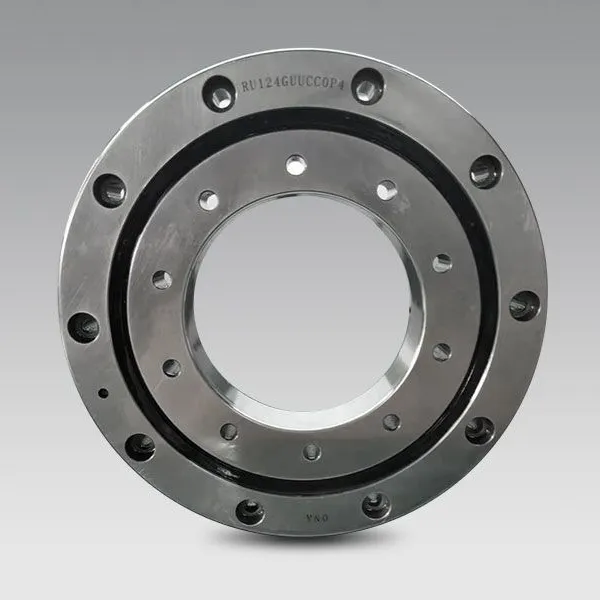
At Luoyang Ouna Bearing, we provide mounting instructions with every shipment. Our crossed roller bearings, high-precision rotary table bearings, and four-point contact ball slewing bearings are designed for straightforward assembly with standard industrial tooling. Contact us if your specific mounting condition (e.g., non-standard shaft material, restricted access) requires custom installation guidance — or request our mounting troubleshooting checklist for your most common failure modes.
Recently Posted
-
Upgrade Your CNC Performance with ORT Series Rotary Table Bearings – A Direct Drop‑In Replacement
June 3, 2026For CNC machine tool builders, the rotary table bearing is a mission‑critical component. Its performance directly determines posit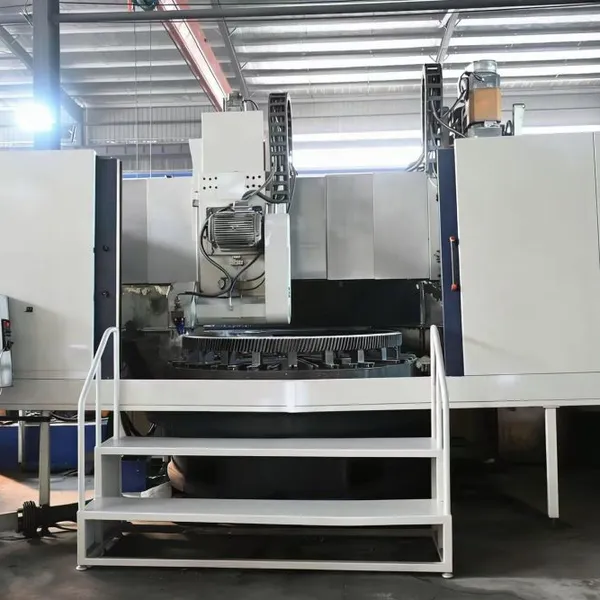 Read More
 -
China’s Bearing Industry Has Come of Age – Here’s Why Global OEMs Are Paying Attention
June 3, 2026If you have historically sourced precision bearings only from traditional European and Japanese manufacturers due to quality conce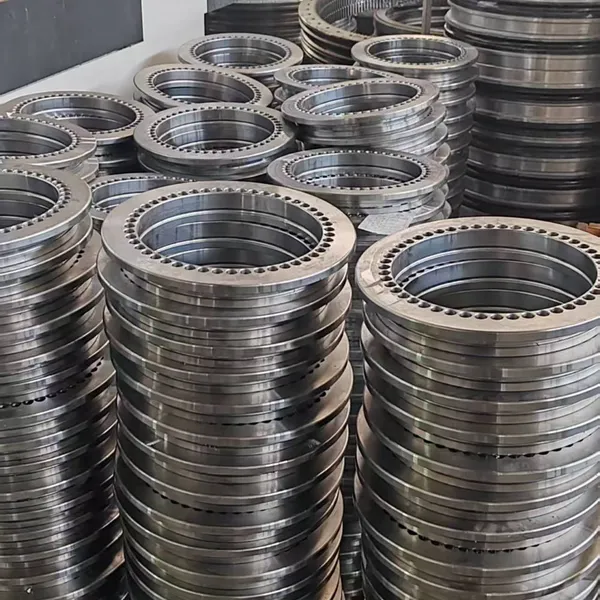 Read More
 -
Seize the Humanoid Robot Boom – The Bearing Market‘s Biggest Growth Opportunity
June 3, 2026The humanoid robot industry is transitioning from research labs to commercial production—and precision bearings are at the center Read More
 -
ORT Series Rotary Table Bearings – The Smart Buyer‘s Choice for High‑Precision CNC Applications
May 29, 2026For CNC machine tool builders, the rotary table bearing is a mission-critical component. Its performance directly determines posit Read More

Contact Us
Recommended Products
-
 SHF Series Harmonic Drive BearingsNegotiableMOQ: 5 Pieces
 -
Robot Reducer BearingNegotiableMOQ: 5 Pieces
-
Robot Hollow Rotating Platform BearingNegotiableMOQ: 5 Pieces
-
Precision Slewing Bearings OXA 200810NNegotiableMOQ: 5 Pieces
-
OKLDF Thrust Angular Contact Ball Bearings Series OKLDF 100NegotiableMOQ: 5 Pieces
-
SHF Series Harmonic Drive BearingsNegotiableMOQ: 5 Pieces
-
Thin-Walled Crossed Roller Bearings ORB 6013NegotiableMOQ: 5 Pieces
-
Thin-Walled Crossed Roller Bearings ORB 5013NegotiableMOQ: 5 Pieces
-
Thin-Walled Crossed Roller Bearings ORB 4510NegotiableMOQ: 5 Pieces
-
Thin-Walled Crossed Roller Bearings ORB 3010NegotiableMOQ: 5 Pieces
-
Thin-Walled Crossed Roller Bearings ORB 3510NegotiableMOQ: 5 Pieces
-
Thin-Walled Crossed Roller Bearings ORB 2508NegotiableMOQ: 5 Pieces
-
Thin-Walled Crossed Roller Bearings ORB 2008NegotiableMOQ: 5 Pieces
-
Thin-Walled Crossed Roller Bearings ORB 4010NegotiableMOQ: 5 Pieces
-
Thin-Walled Crossed Roller Bearings ORU 445(G)/445(X)NegotiableMOQ: 5 Pieces
-
Thin-Walled Crossed Roller Bearings ORU 297(G)/297(X)NegotiableMOQ: 5 Pieces
-
Thin-Walled Crossed Roller Bearings ORU 228(G)/228(X)NegotiableMOQ: 5 Pieces
-
Thin-Walled Crossed Roller Bearings ORU 178(G)/178(X)NegotiableMOQ: 5 Pieces
-
Thin-Walled Crossed Roller Bearings ORU 148(G)/148(X)NegotiableMOQ: 5 Pieces
-
Thin-Walled Crossed Roller Bearings ORU 124(G)/124(X)NegotiableMOQ: 5 Pieces
